
Connect to LMS
Here are two scenarios where your students can connect their account to the school's LMS:
a. Connect to LMS Modal
Once your school has set up its LMS configurations for GradeChum integration, a Connect to LMS modal becomes available to you.
This modal shows when you enter the class code of an LMS-linked class and your account is not connected to the LMS yet.
To connect your LMS account through this modal, follow these steps:
- Open the Select a school dropdown and pick your school. Rest assured that if your school successfully set up the integrations on their end, your school will show up on the list for sure. If your school does not use an LMS at all, tick My school does not use an LMS instead.
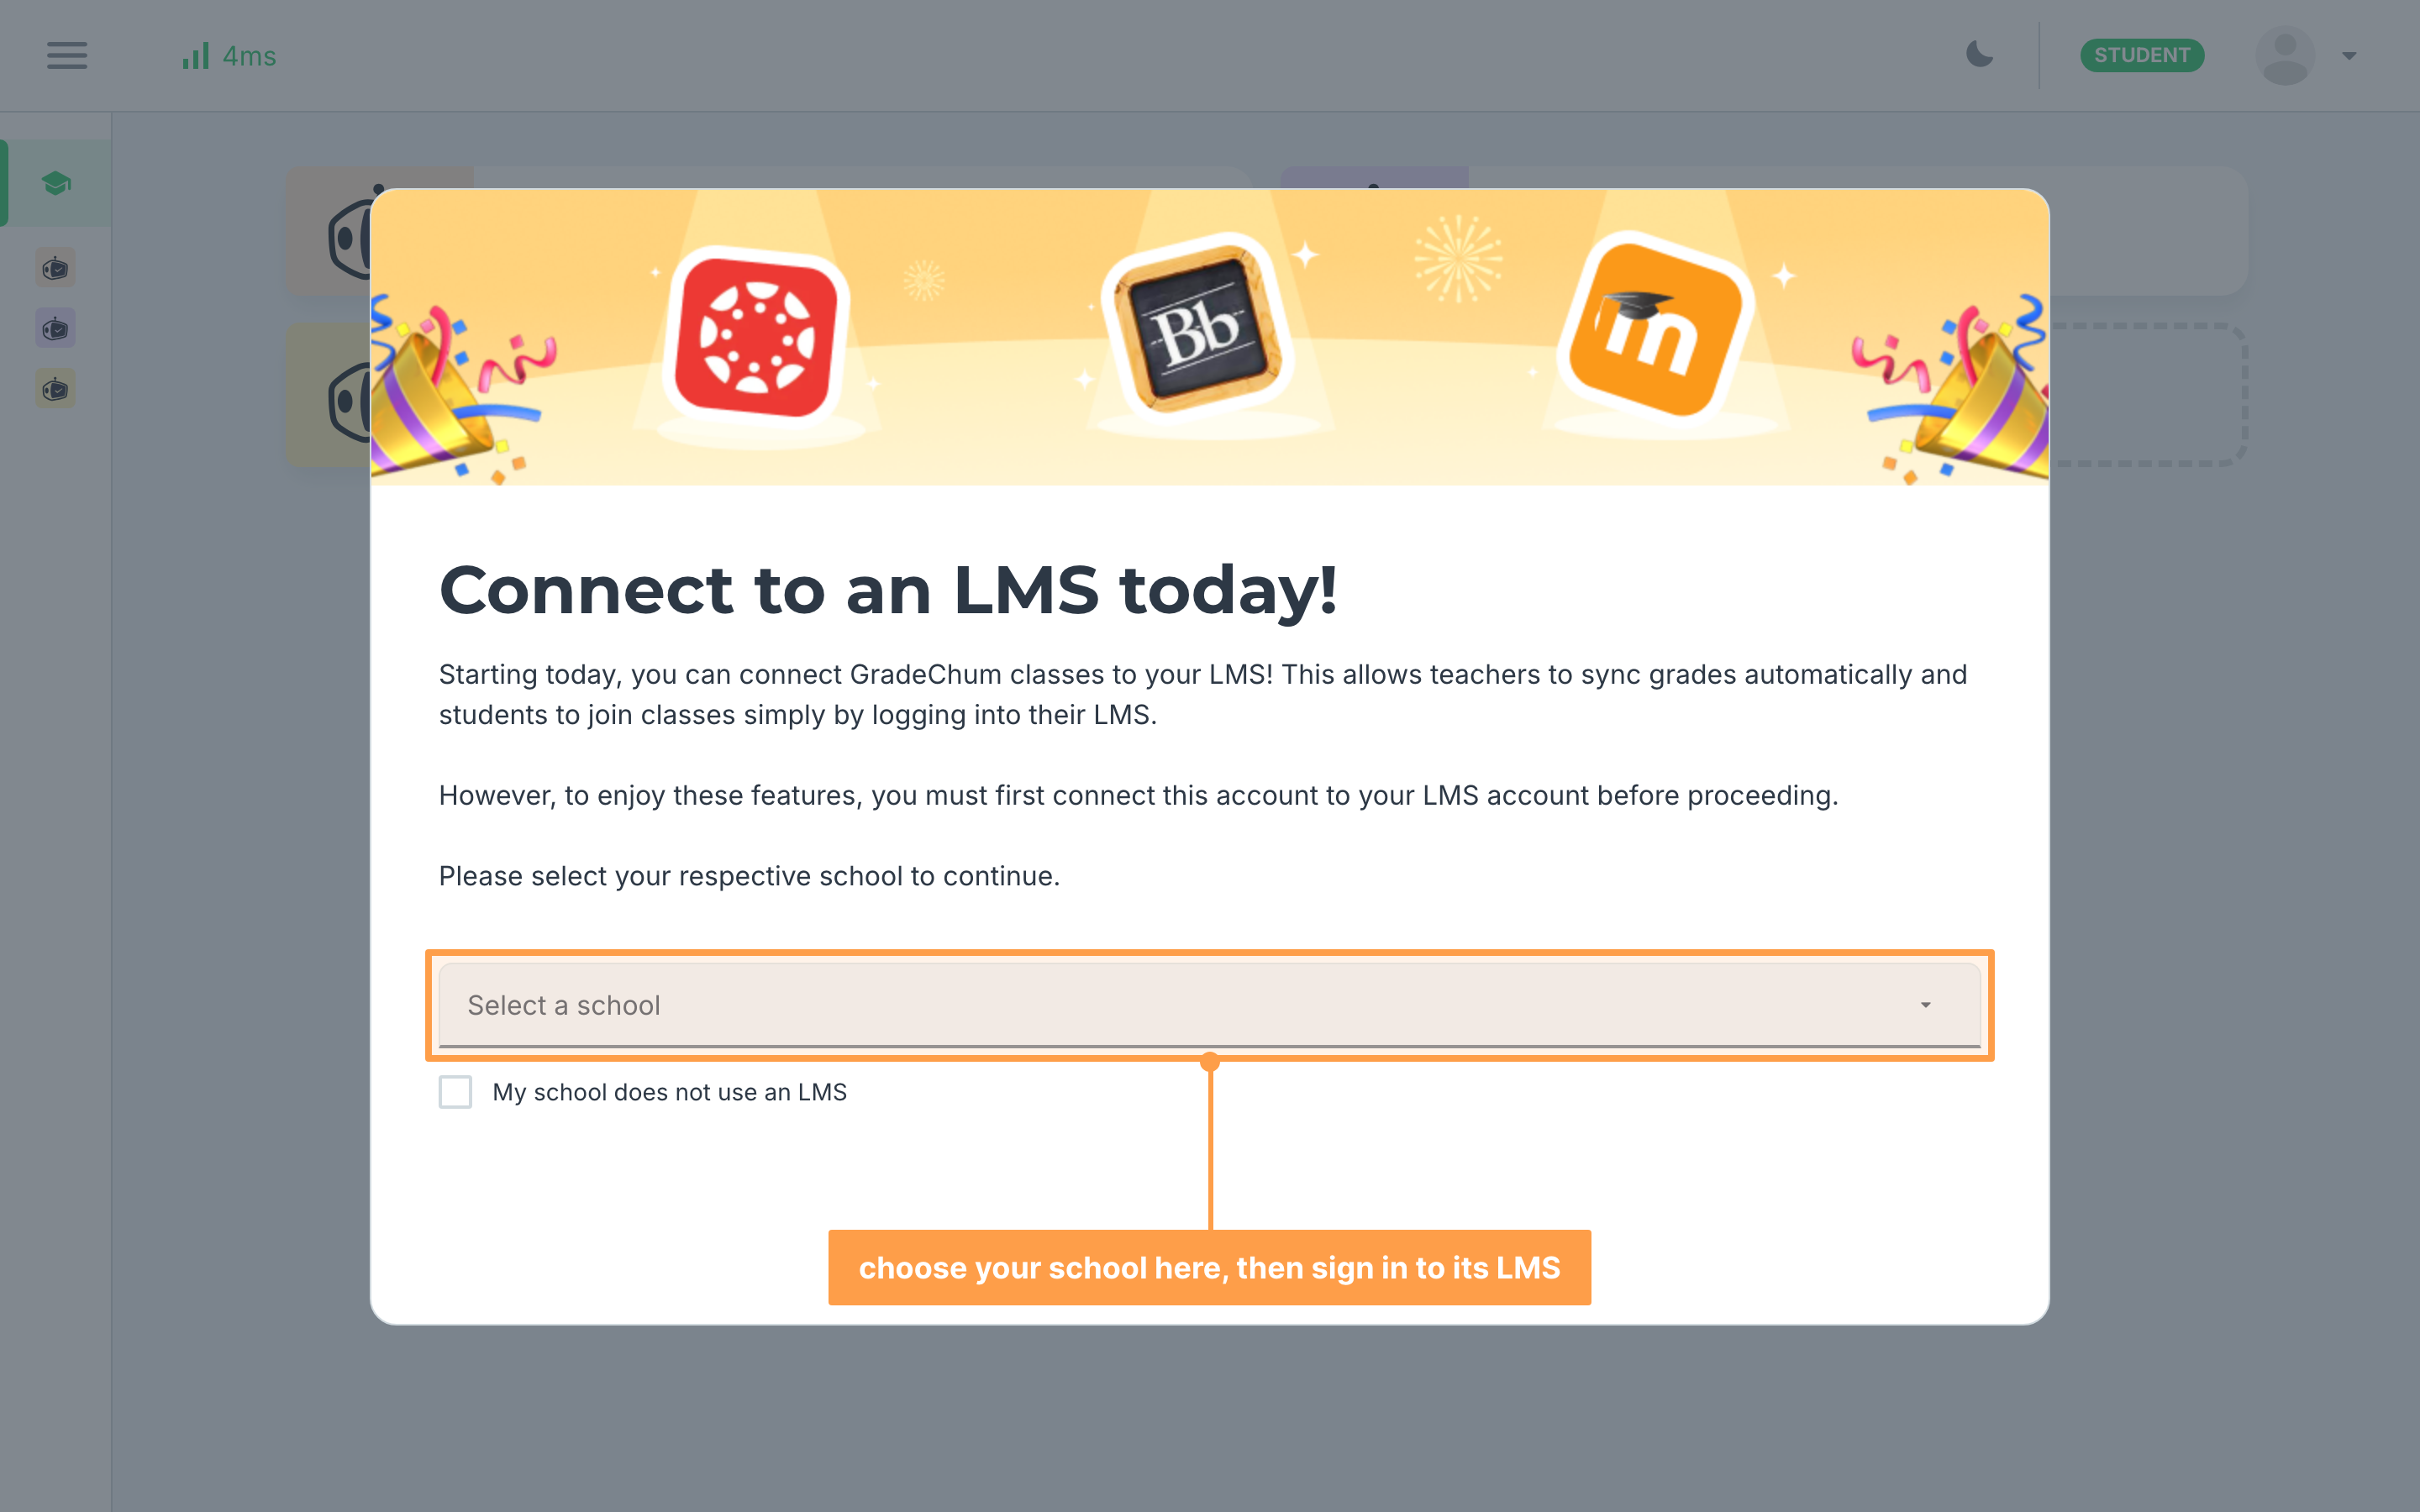
- Check that the line above the button, This school is connected to \
, matches the LMS your school is currently using. If so, click Connect to \ to proceed. - You will be redirected to your school LMS's login portal. Provide your LMS account credentials there to successfully log in.
- Once done, you will be redirected back to the application with a success message stating that you have successfully connected to your LMS. After this, the application will show you the rest of the things you can do when you're connected.
b. Account Settings
You can also connect to an LMS at any time from your account settings in the app (Profile > My Account > Account Information), whether or not you have been through the join-a-class prompt.
To connect your LMS account through here, follow these steps:
- Click your profile picture to open the menu and click My Account.
- Go to Account Information.
- You will see a field there for an LMS email. Under that is an indicator if your account is already connected to an LMS. If not, it will show a Connect button link. Click that to open a modal.
- Follow the steps under the Connect to LMS modal scenario.
If you have successfully connected to your LMS, you should be automatically enrolled to the GradeChum classes that were linked to the LMS classes where your were enrolled in, saving you time.